Tuesday 24 December 2013

Contentedness

As 2013 fades into the distance I hope you all had a great year and would like to thank everyone  who has followed this blog over the past 12 months or longer. 2013 has been a busy year for Lisa and myself,  one full of new experiences, in business and our private life and of late in finally finding ourselves a place we can truly call home.

 In the white
3 Coats of milk paint prior to oil.

This morning as I put the last coat of Danish Oil on a Continuous Arm Chair ( a Christmas present for author John Marsden ) I thought about how that chair reflected the past year in a number of ways. Like most chairs I make, I'm almost always more pleased with my latest effort. This chair was no exception.

I think it's an accurate gauge of my understanding of my craft and my desire for continuous improvement. This time around I tried new techniques, I altered the design a little and experimented with the finish too. It resulted in a chair that came together easily, was very symmetrical and had good form.

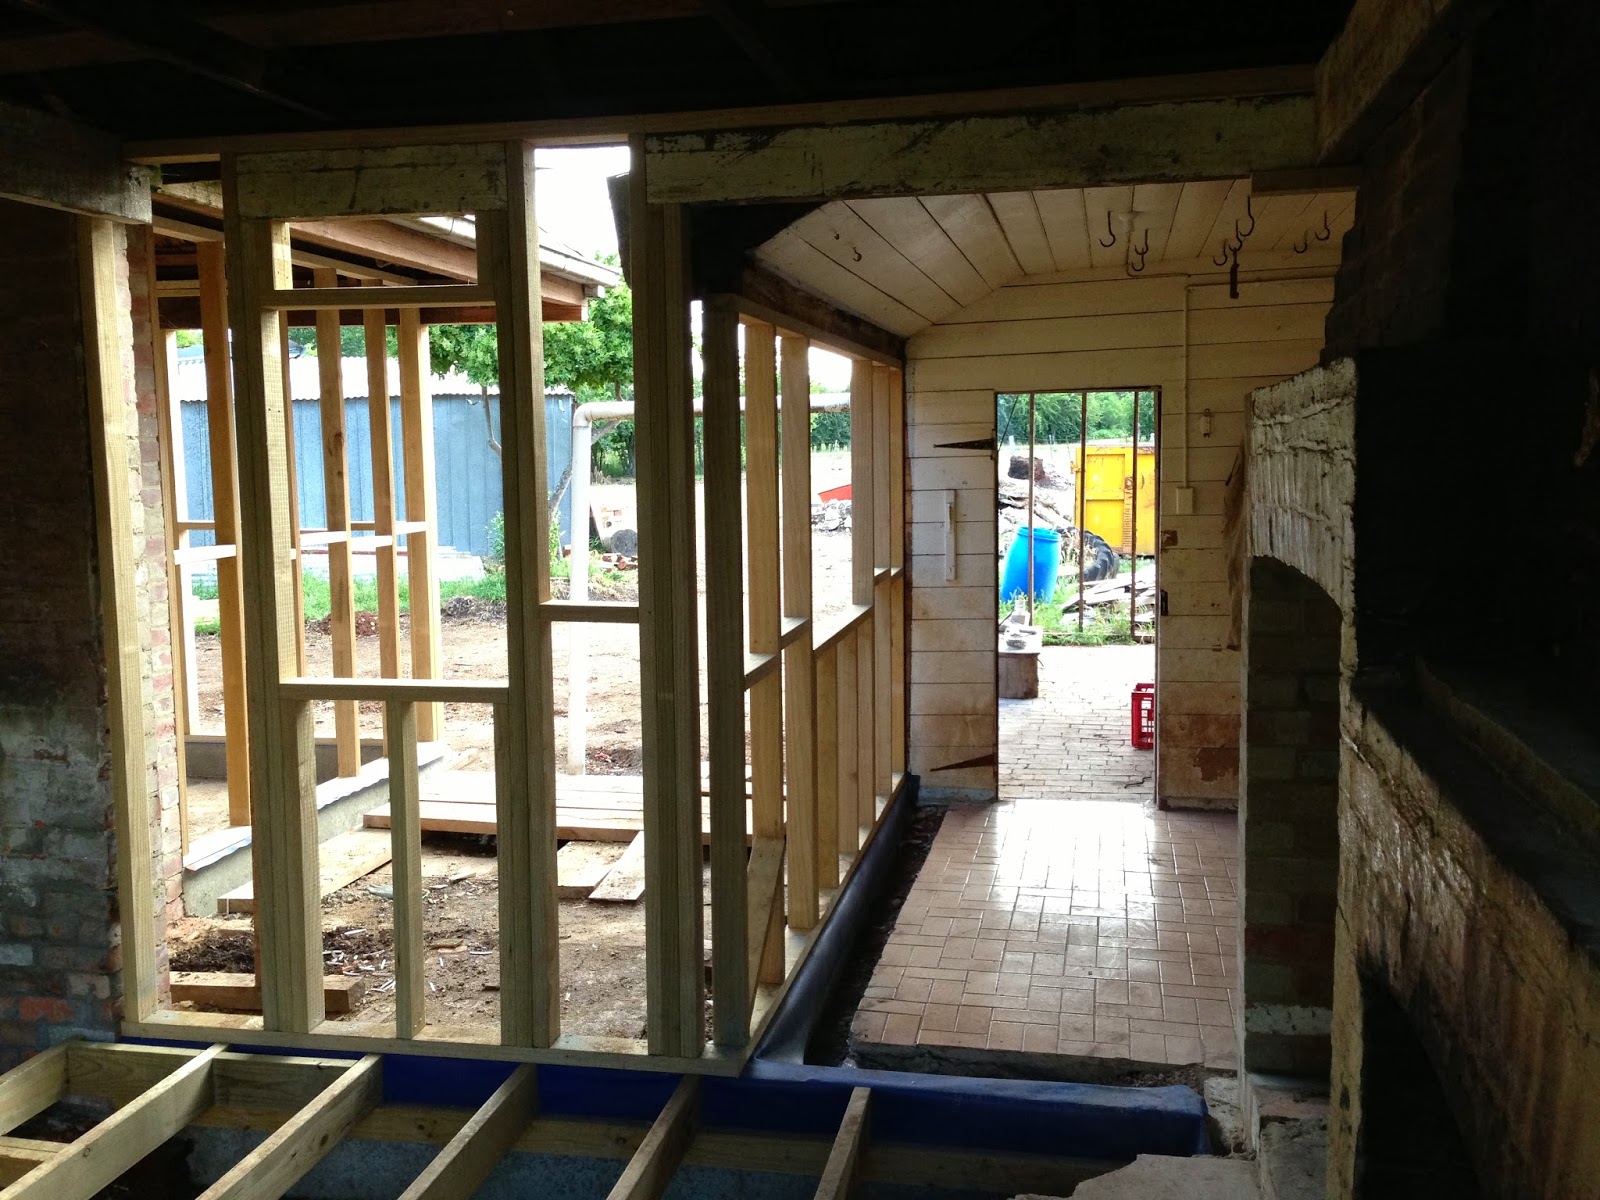
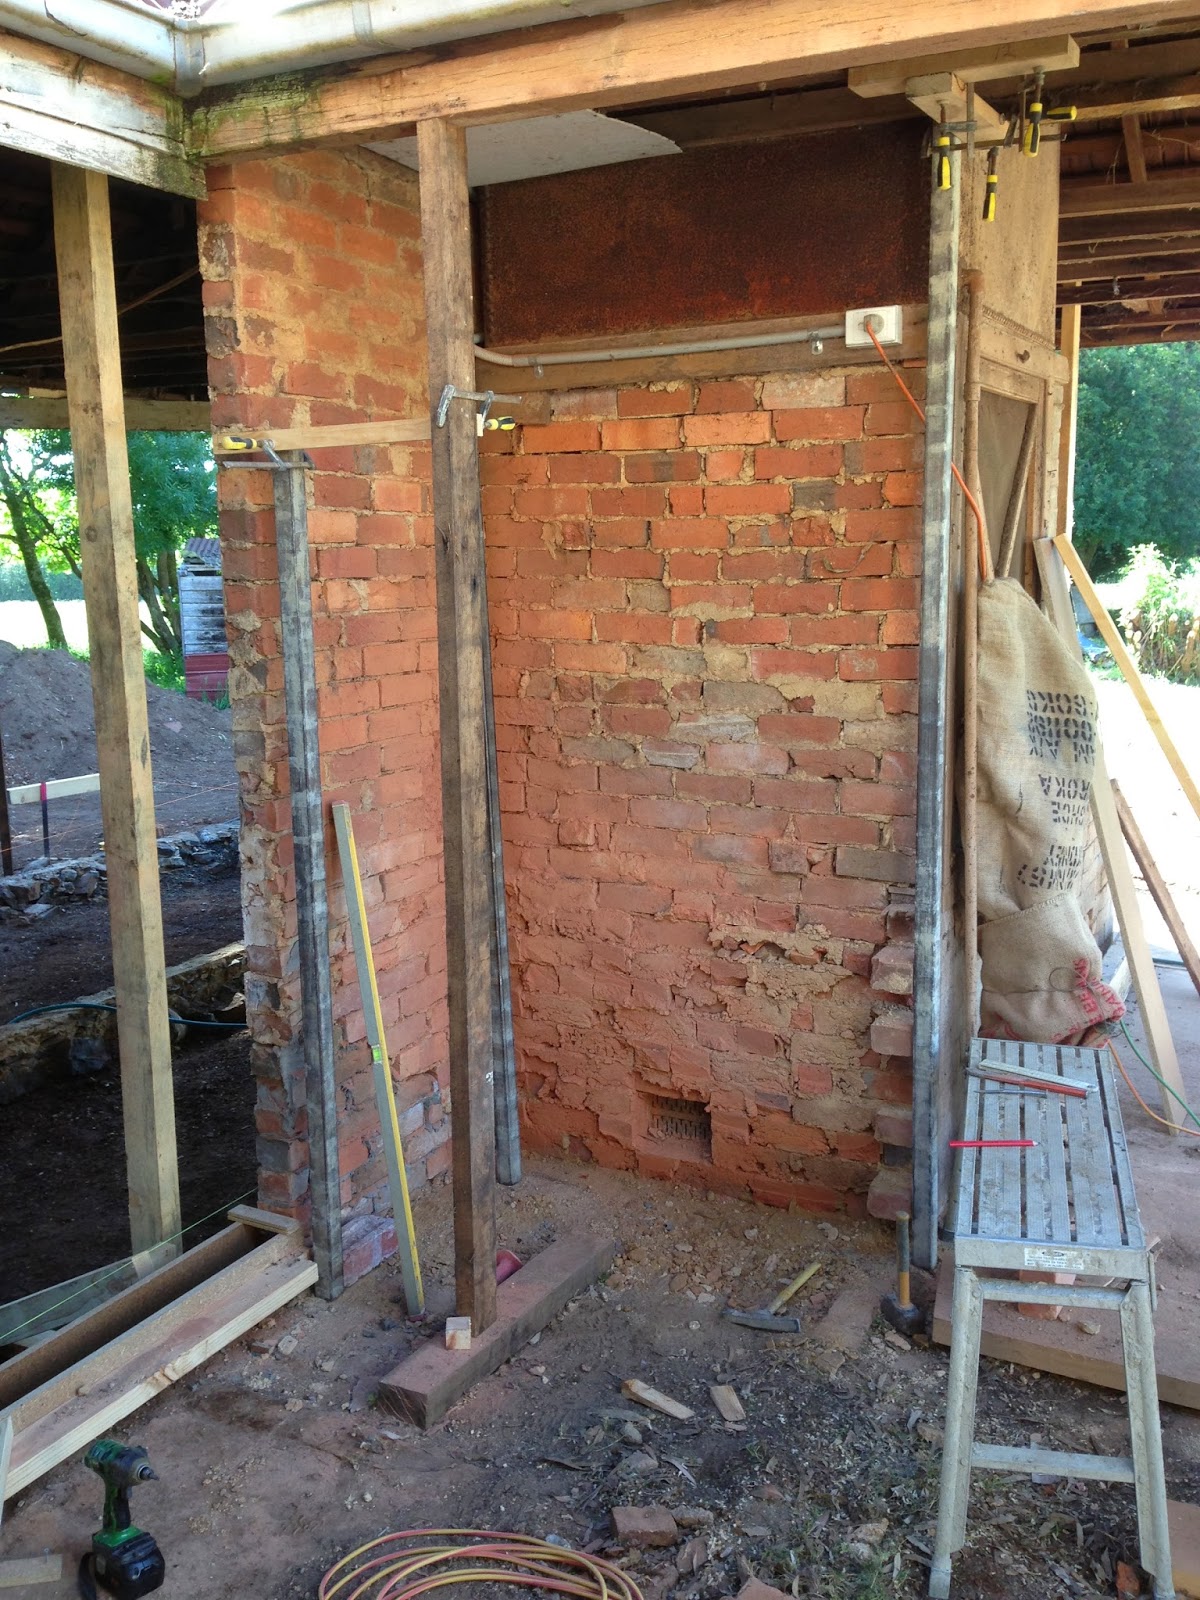
Similarly with our business, I'm pretty happy with the way this last year has gone. It's been a bloody long and hard one, but still….. We've officially crossed the line of 12 months in business, we've supported lots of local makers by providing an outlet or gallery for their work, we've run dozens of courses with happy and satisfied customers, we've opened the door to our accommodation house, '1774', we've run our wine bar, 'The Chairmakers Wife' every weekend, bar two, without incident and at the same time Tom has finished his first year of school. I think we stayed relatively sane throughout the whole year too!

But most of all, just like the last chair, I'm content with 2013 and think it has been one of 'our' best yet. Just like the chairs though I'm looking forward to the next one being even better. I hope yours is too. Merry Christmas and if I don't post in the mean time….. Happy New Year.


Wednesday 18 December 2013

Snapshot

Snapshot. I think I gave the term a new meaning the other day as I readied the chair on the left for this photo taken by Ian Hill of the pair of Crested Rockers. That's exactly the feeling in my back as I lifted the chair stupidly whilst on my knees with my arms straight out in front of me, fully extended!

Anyhoo, as painful and annoying as it's been. It was worth it for the brilliant photo that Ian took. Thanks again Mr. Hill.

Saturday 14 December 2013

Goings on...

As I lay flat in bed with a bad back ( lifting chairs the wrong way believe it or not! ) I thought it a good opportunity to get in an update on a few goings on around the traps here…

On the house front…..


After a day or so on the end of the crow bar and shovel we cleaned out the excess dirt and detritus between the rock footings. This allowed new holes to be dug for the galvanised stirrups for some new bearers. Lets see you eat galvanised iron Mr. Termite. Here they are suspended in the holes ready for concreting.


The rock footings in some sections of the laundry and kitchen was so low to the ground that putting a new bottom plate straight on to it was asking for trouble, both from a termite and dampness perspective.  So instead we boxed up on top of it and poured a concrete footing, complete with some serious half inch thick reinforcing bar.


The result was great and has given us a solid and virtually indestructible footing into which we can fix the bottom plate comprehensively. Trying to do the same on the sub standard old stone footing would have been near on impossible. The blue stuff is termite mat. It is impregnated with a 'termicide' which apparently has a 50 year life. As you're probably getting the gist now, it's all about keeping those little white menaces at bay!

With the concrete footings poured and the stone footings repaired we were then able to started building (  hooray! ). Again the thought of any further attack on the house structure pretty much forced my hand when it came to choosing the material for the frame. The only real guaranteed option for termite proof material is H3 pressure treated timber and so that is what we have chosen. It will all be completely clad both inside and out and so will never be seen.


Rather than using 90 x 35 material which seems to be the norm on most 'new builds,' I went with 90 x 45 on all the studs and noggins and 140 x 45 for the new floor joists and sub frame. It makes for a good solid frame and is also closer to the old 2" thick stud size that was there originally.

When it came to windows, although it would have been nice to have large expanses of glass, it's not in keeping with a house of this age and we had to factor in heat loss in the cold winters here. So we went with smaller openings and placed them symmetrically in the walls. I think it looks a treat.

The ceiling in the old kitchen I estimate was only put in sometime around the 1940's - 50's and was not a particularly good job either. The hanging beams ( which support ceiling joists ) were vastly undersized and attached to the old joists with a combination of old fencing wire, bits of kerosene tin and whatever else they found lying about.


So to make a good job of it, we fitted some decent Douglas Fir ( Oregon to us Aussies, but I've found that we are the only people in the world who call it that… ) beams across the room to pick up the new hanging beams and provide some support for the new ceiling joists.


I love looking at this aspect now. This is where the horrid aluminium sliding door was, but the old stone footings gave some insight that it had alway been filled in as a sort of room, so it's now re-framed as it should be.

On the Chair making front….


The matched pair of Crested Rockers are finally finished and ready for delivery. It's always an interesting time when I deliver a chair I've made. I guess when you put so much work into an object it can be hard to part with. I'm sure they will be appreciated just as much though by their new owners Lishia and Simon. ( Lifting one of the chairs while they were being shot by Ian Hill the photographer yesterday is how I put my back out. No, they're not that heavy, I just lifted the wrong way… )

On the Shop front…..


I'm really proud to announce that we are now official retailers of Gransfor Bruks Axes, adzes, froes and other tools. I'd always envisaged selling their stuff and now to have that as a reality is very exciting. They are already finding their way into a few locals Xmas stockings!
Could there be a better stocking filler?? "Oh darling a Gransfors Axe!" "Just what I've always wanted! Swedish blacksmithing excellence attached to custom Hickory handled perfection….."


I'm also excited to announce that from mid January the shop will be stocking a range of Terry Gordon's HNT Gordon hand planes and spoke shaves and Colen Clenton's marking out tools. I've mentioned them a few times before, but if you haven't seen them before then do yourself a favour and go to their site http://www.hntgordon.com.au and have a good look around. Both guys make products that are the best of their kind. Full stop.


Another Saturday night….

Thank you Mr McLeod and thanks to Rob too for organising it. Another great night at 
The Chairmakers Wife! 

Wednesday 4 December 2013

Blurred lines

After day five, the days spent at Tylden on the old house have sort of blurred in to one. I'm not saying that in a bad way, more so that there's plenty to do and so much happening at once.

While Pete and I have concentrated on 'taking out the termites' and all things wooden they have gnawed, some attention to other building materials has been required. Namely bricks and stone.

About 6 months ago I was marvelling at how Greg Pennington was building his new tool shed with stone foundations and at the same time wondering if the same building technique was prevalent in Australia at some point. Short answer, Tylden certainly was built that way.

The main issues I feel that have contributed to the demise of the house over the past 50 or so years has been the constant building up of soil and concrete around the perimeter of the house. Termites like damp and moist areas and nothing makes an area damp like stopping air flow. In fact the concrete and soil were so high up the walls it was impossible to see just what the building was sitting on, until we excavated a little.

After removing all the built up top soil and concrete we are now nearly 250mm lower than the top of the concrete at the back door as seen here.

Only then could we see that the stone foundations, set with lime mortar, had been well laid and indeed rendered with lime mortar as a finished surface. Just like a good dry stone wall, they had considerable large flagstones at the base and smaller well fitted pieces as the height rose. Most of the outside perimeter stone walls were all in very good order, still sound after a good 150 years. Which says something for lime mortar….and good workmanship too.

But unfortunately a short run of stone wall on the Northern side of the kitchen which led to the original house, had succumbed to years of non-existent drainage from the roofs spouting ( gutter ) above it. Add to this the huge invasive tree roots of the Banksia tree a few metres away and it was not surprising it had crumbled.

The corner in question behind the Banksia tree.

A friend in town recommended a good bricklayer and after a quick phone call, Ken and his son Travis came out to have a look at both the foundations and other actual brick work that needed attention. I've been told more than once since,  we were extremely lucky to get them at short notice. It seemed they had a few days spare between jobs.

After a look around, we arranged to collect some bricks and Ken and Travis came back on the Monday and started. Travis rebuilt the stone foundation on the North wall and Ken started to rebuild the central brick structure that held up the old iron water tank and internal kitchen wall.

In all three whole days were spent working on the tank stand wall, kitchen foundations and two kitchen chimneys. The results speak for themselves.

 Newly mortared kitchen foundations…. including an original cast vent from else where in the building

The left fireplace which would have housed a combustion stove at one point. It only had one skin of bricks precariously holding up the entire chimney and laid on remnants of floorboards and floor joists!

The same skin removed and whole chimney propped up on the lintel, inside! At one point we though the whole lot might collapse…..

Travis putting the finishing touches to the new double skin chimney wall.

 The old and worn out base of the second chimney.
The same chimney re finished. The fire place crane or 'swingle' even came loose after being seized.

 Tank stand stripped down …..
And beautifully rebuilt.
When taking away an old section of concrete on the right side of the second chimney and a pile of rocks and rubble it was poured on, I found one of the original grates providing air flow into the main house. To think it's been covered for well one 100 years. Gives me hope that there will be more to uncover as we clear the concrete and detritus from around the rest of the house. Fingers crossed.